Surface roughness plays a crucial role in paper as it directly impacts print quality. Both macroscale features, such as poor fiber dispersion, and microscale features, like particle size distribution, contribute to paper’s surface properties.
Traditionally, the Parker Print-Surf method is used to measure paper roughness. It involves applying varying pressures to the paper with a 51µm wide ring, and the airflow between the ring and paper surface is measured to determine roughness. However, a limitation of this method is its inability to accurately capture microscale features, which can affect print quality.
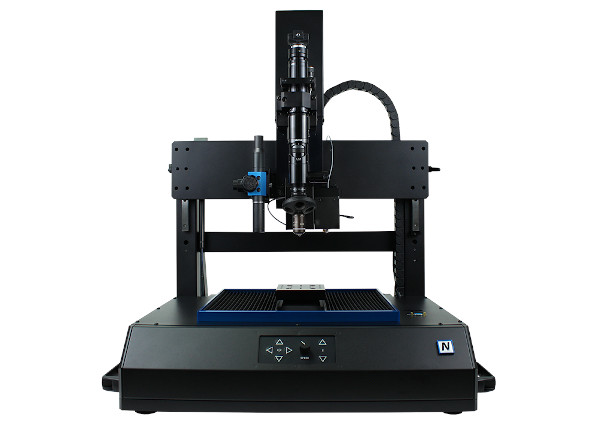
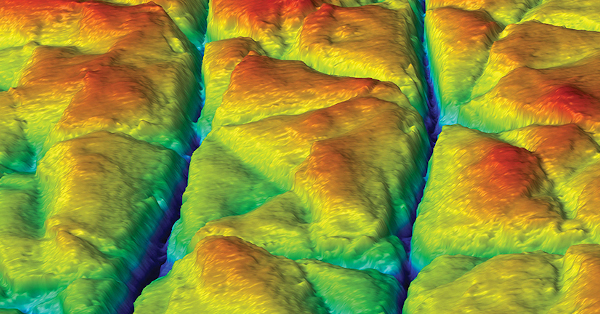
Nanovea’s 3D Non-Contact line sensor profilometer offers a solution by detecting both macro and microscale features, thanks to its high-resolution, fast scanning capabilities. Large surface areas can be analyzed, and roughness is calculated using the arithmetic mean height (Sa) from the height data collected. Since paper is prone to deformation due to its thinness, the non-contact nature of the sensor ensures that the height measurements remain unaffected by any surface deformation.
In this application note a large 50mm x 50mm scan was performed on a variety of paper types to quantify roughness at the macroscale level. Additionally, a 2mm x 2mm section was extracted from each 50mm x 50mm scan to examine the microscale features of each paper sample in greater detail.
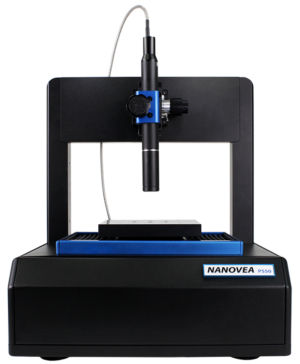
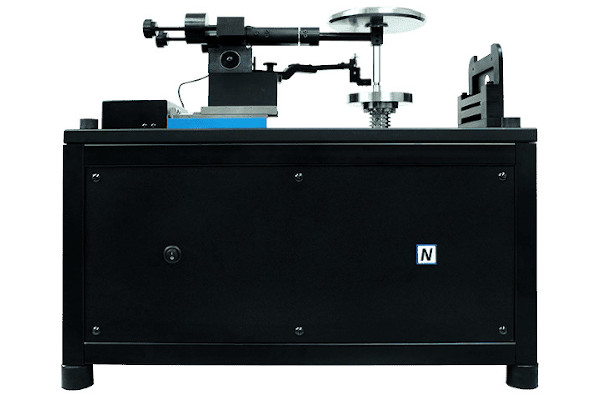
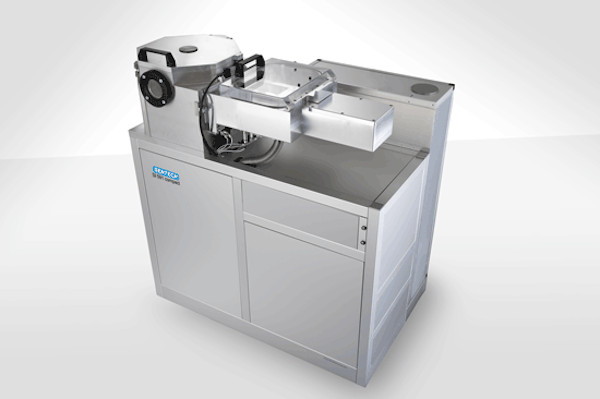
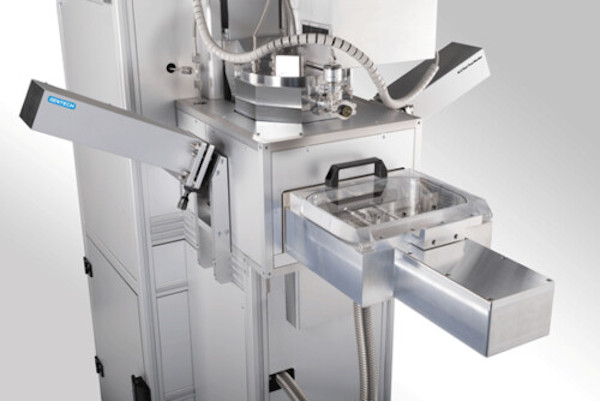
The application note expertly showcases the ability of the Nanovea high speed systems to collect high resolution data from large samples. Although the HS2000 tool used in the note has now been discontinued, the same study can be performed on the ST500L high speed system.
You can view the full application note here or you can request a pdf copy by clicking the Request Application Notes link below.
