Application Notes
Real life case studies using our instruments and materials
Learn more
Application notes are an excellent way to learn more about how a well a product performs in real world applications.
July 23, 2025
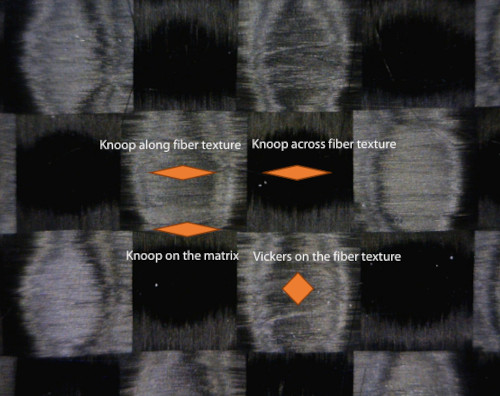
Mechanical & Tribological Properties of Carbon Fibre Composite
January 27, 2025
Examples to demonstrate the advantages of in-situ diagnostics for ALE process development.
October 11, 2024
Measuring the roughness of a variety of different paper types using non-contact profilometry.
July 31, 2024
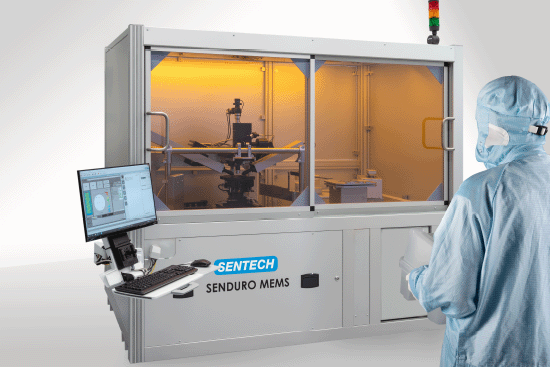
Characterisation of dielectric layers and stacks using the SENTECH SENDURO MEMS
July 24, 2024
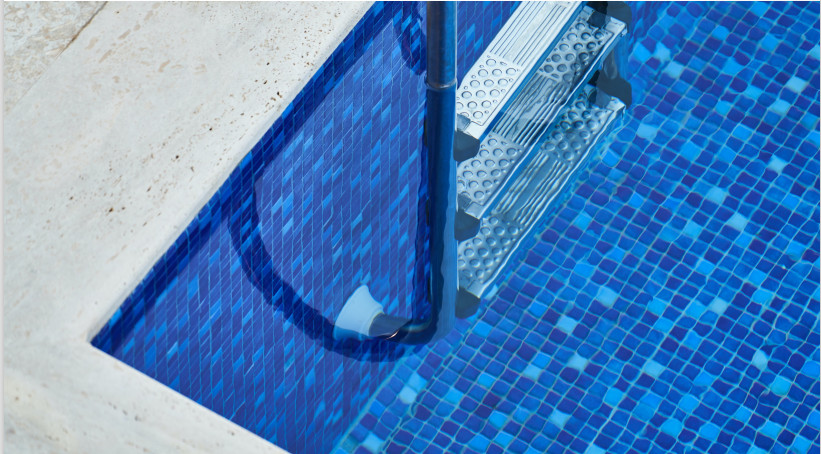
Nanoindentation of a floor tile using fastmap mode.
September 20, 2023
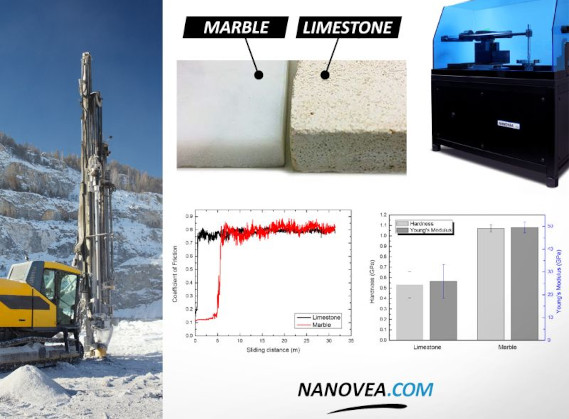
Comparing COF and wear rate of different rock compositions using the Nanovea Tribometer
September 27, 2022
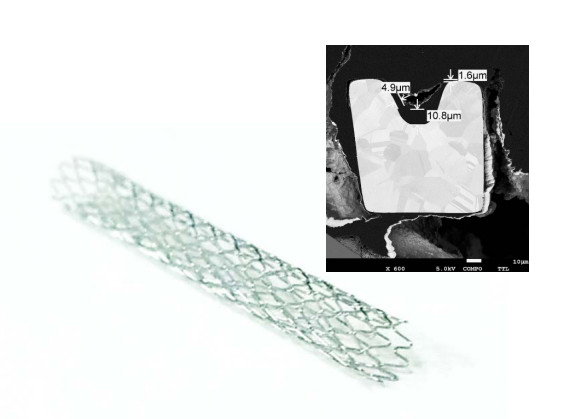
Analysing cohesive and adhesive strength of stent coating using Nano Scratch Testing
April 26, 2022
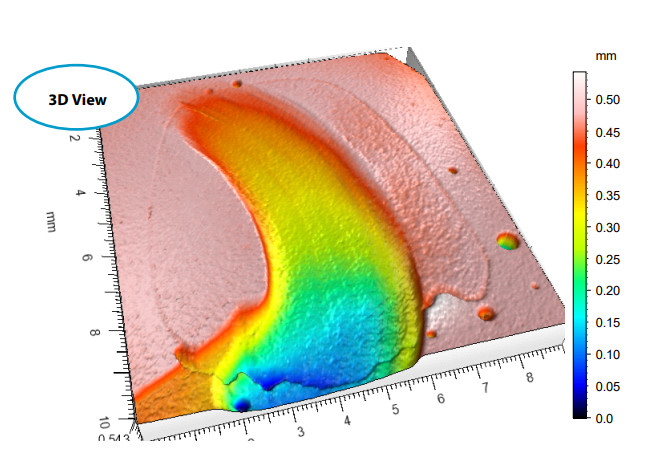
Characterising tooth wear using profilometry
March 16, 2022
Comparing the roughness of three different tablet brands according to ISO 25178.
November 29, 2021
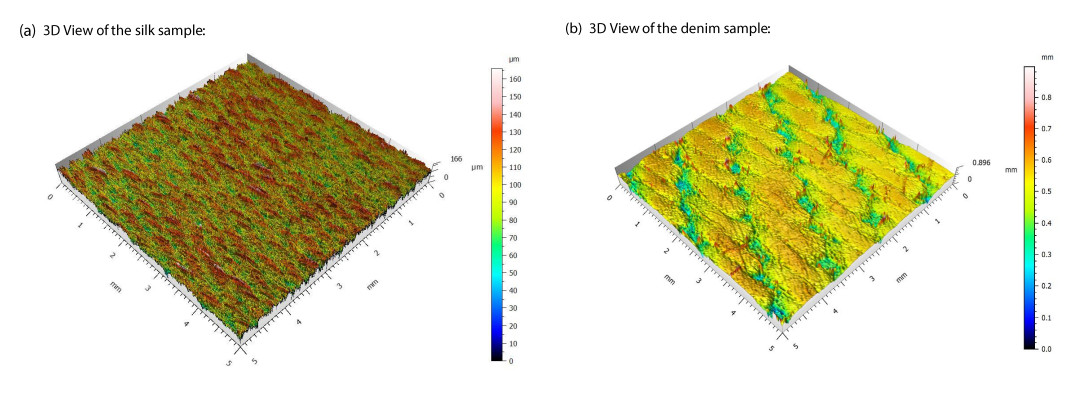
Comparing the texture of silk and denim textile samples.
June 23, 2021
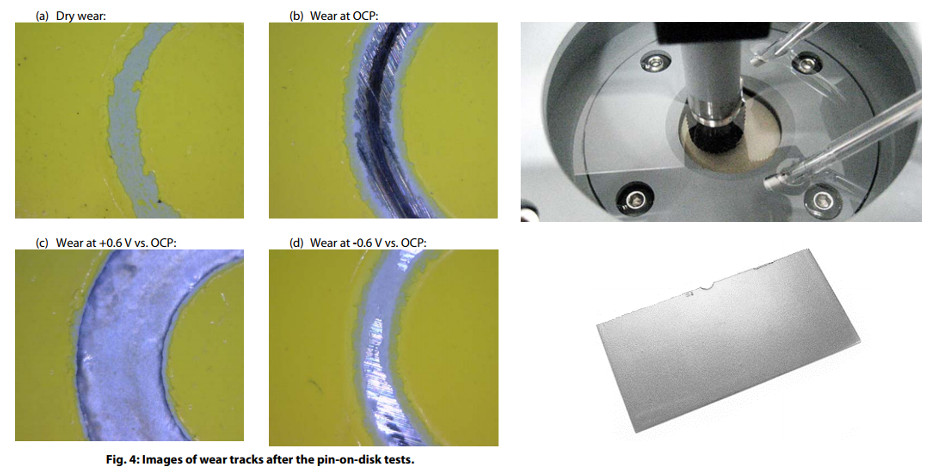
Simulating the tribocorrosion process of commercial acrylic urethane paints.
June 23, 2021
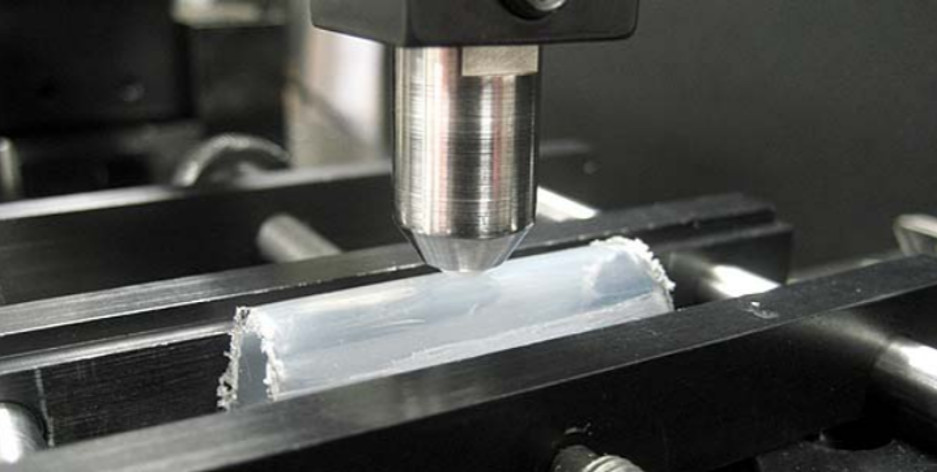
Measuring the coefficient of friction between a 6mm teflon ball and a plastic tube using tribology.
June 23, 2021
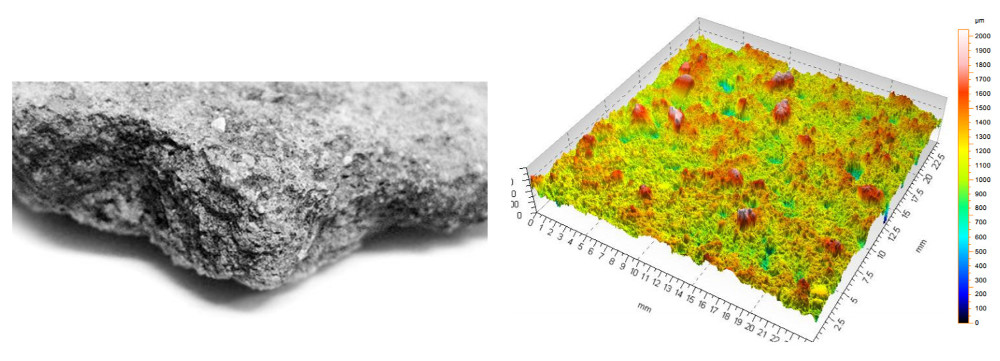
Concrete, rock and core samples all have an important characteristic in common, their surface roughness and or topography can play a vital role in applied use and or an explanation to fracture and interaction. For example, concrete surface roughness can play a crucial role in the bonding to applied substrates, during geologic studies a rock surface can provide answers to important fault shifts and the study of core sample surfaces can provide clues to fluid mechanics. Many of these measurements require portable instrumentation
June 23, 2021
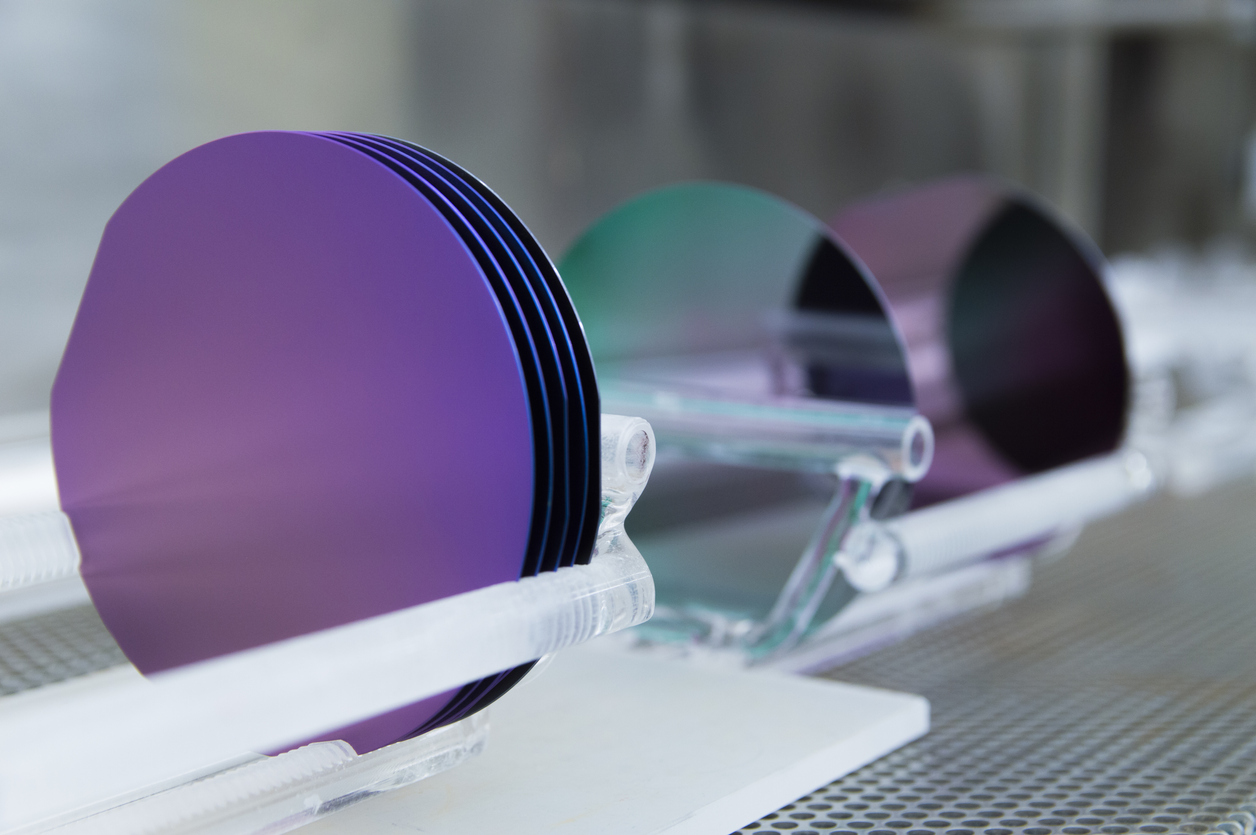
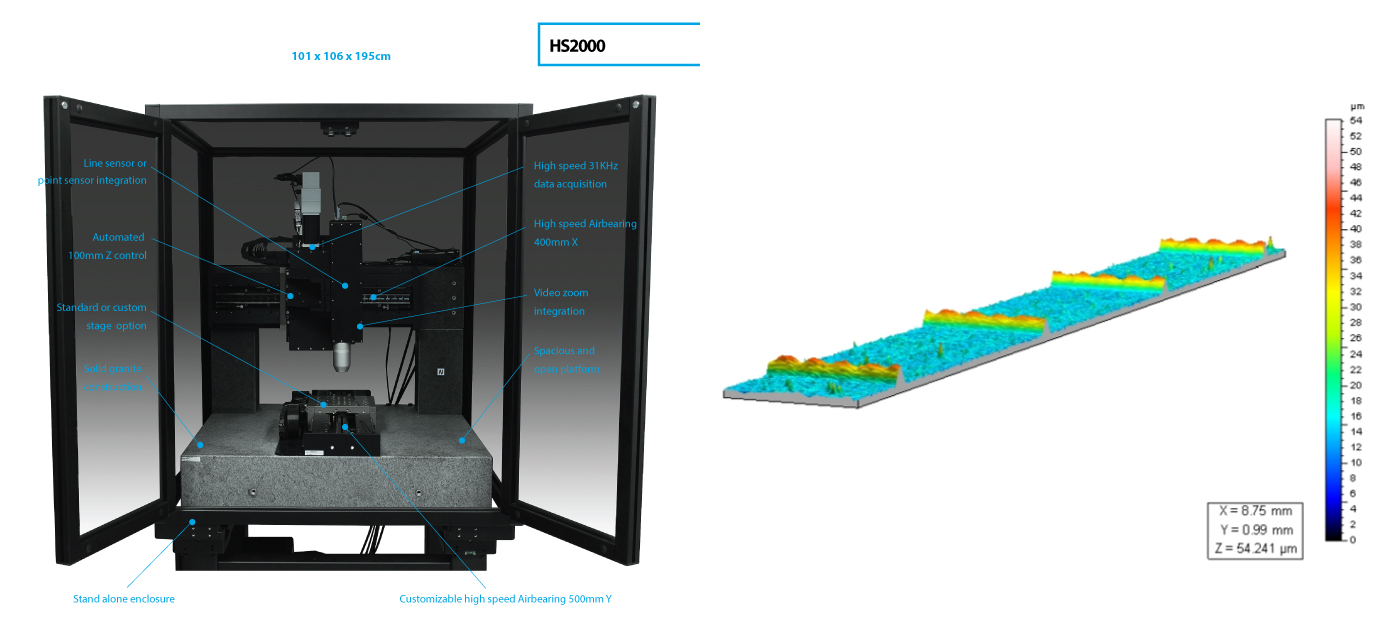
In this application note, the Nanovea HS1000 (we have shown the newer HS2000 below) is used to measure two different types of solar material (photovoltaic material and glass) and calculate their respective surface roughness, surface features and wafer bow. The shape of trace lines on the photovoltaic material will also be measured.
June 23, 2021
In this application note the Nanovea ST400 Profilometer is used to measure the surface of a corrosion pitted stainless steel coupon. The area measured was selected at random, and assumed large enough in that it could be extrapolated to make assumptions about a much larger surface. Density, area, volume, size and shape will be used here to quantify the level of corrosion.
June 23, 2021
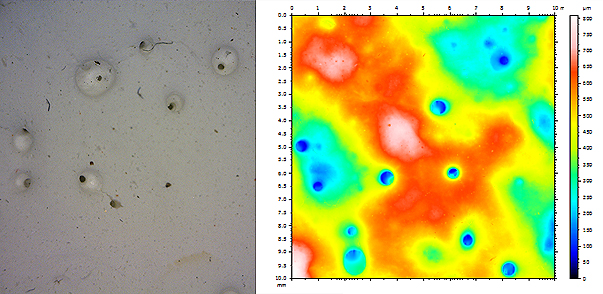
Drywall texture and roughness is critical in the final products quality and appearance. A better understanding of the effect of surface texture and consistency on the moisture resistance of the coated drywall allows selecting the finest product and optimizing the painting technique to obtain the best result.
June 23, 2021
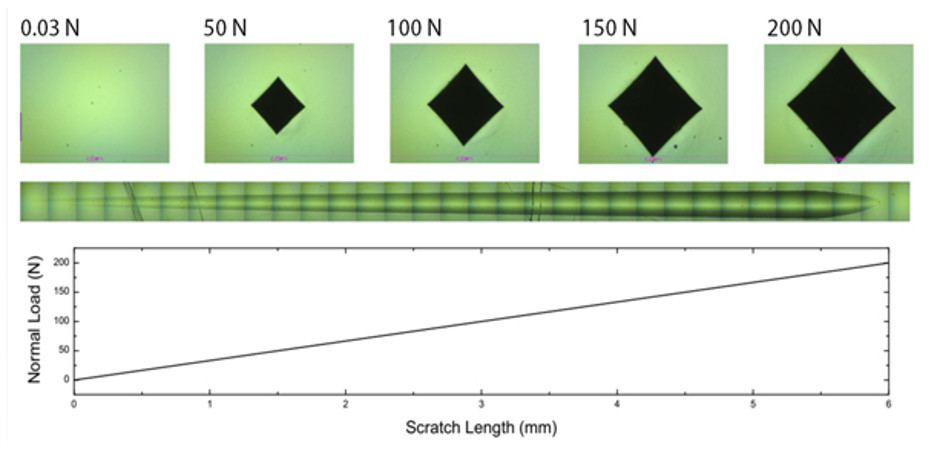
In this application note it will be explained how the Nanovea Micro Module Tester has been designed to offer the world’s leading instrumented indentation and scratch testing. Now capable of testing from loads of 0.03N up to 200N or even 400N on one tool combined with a highly accurate and repeatable stage.
June 23, 2021
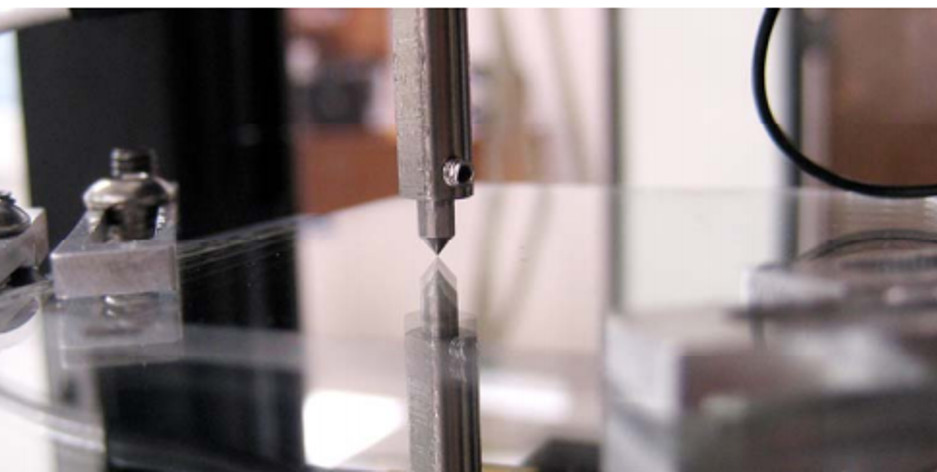
We must simulate the process of scratching in a controlled and monitored manner to observe sample behaviour effects. In this application note, the Nanovea Mechanical Tester in its nano scratch testing mode is used to measure the load required to cause failure of two different commonly used thin film materials, Aluminium (Al) and Silicon Nitrite (SiN), on glass. Each sample has a 200 nm coating on 3 mm thick glass.
June 23, 2021
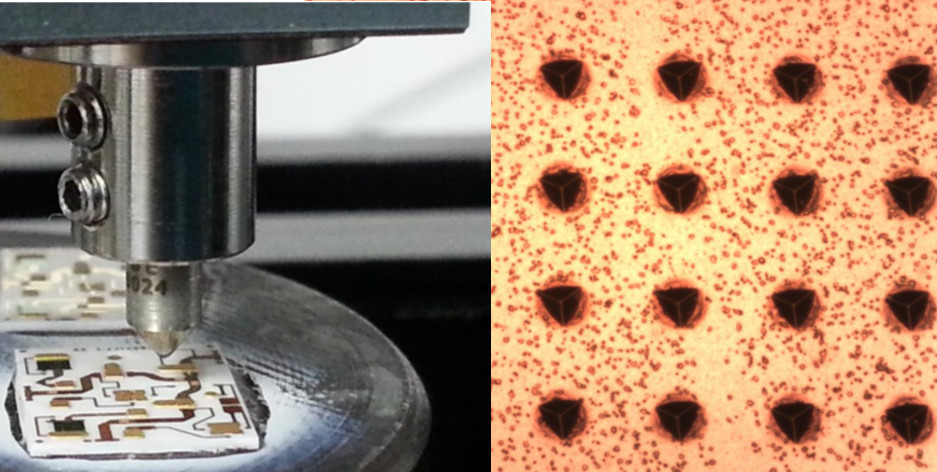
Nanoindentation has become a widely applied technique for measuring mechanical behaviours of materials at small scales. The high-resolution load-displacement curves from the nanoindentation measurement can provide a variety of physicomechanical properties including hardness, Young’s modulus, creeping, fracture toughness and many others.
Contact us
We’d love to hear from you
We’re here and ready to provide information and answers to your questions
Policy Information
©Mi-Net 2023. All Rights Reserved.
Website by Fifteen.co.uk
