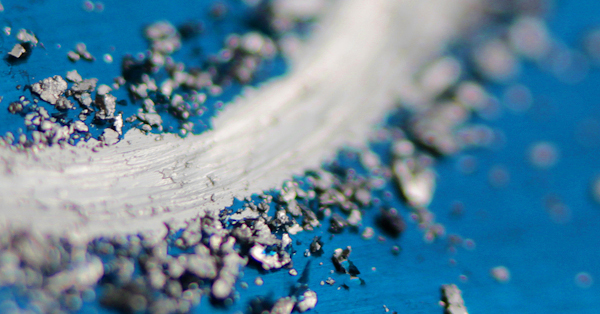
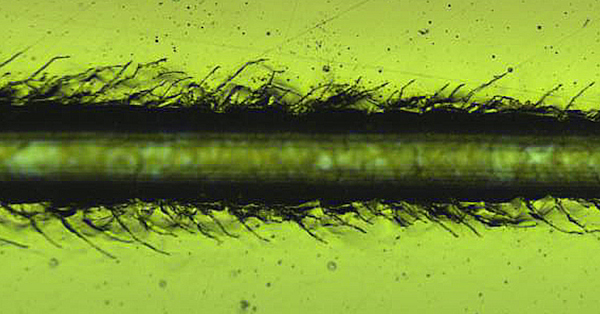
Concrete, rock and core samples all have an important characteristic in common, their surface roughness and or topography can play a vital role in applied use and or an explanation to fracture and interaction. For example, concrete surface roughness can play a crucial role in the bonding to applied substrates, during geologic studies a rock surface can provide answers to important fault shifts and the study of core sample surfaces can provide clues to fluid mechanics. Many of these measurements require portable instrumentation
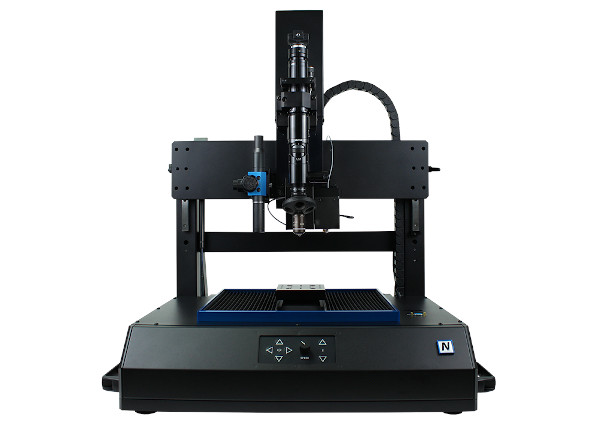
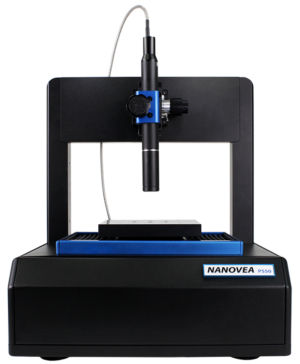
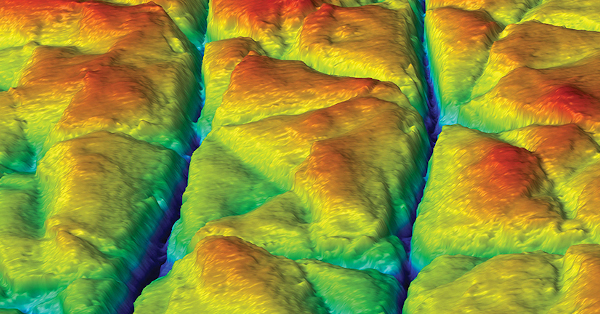
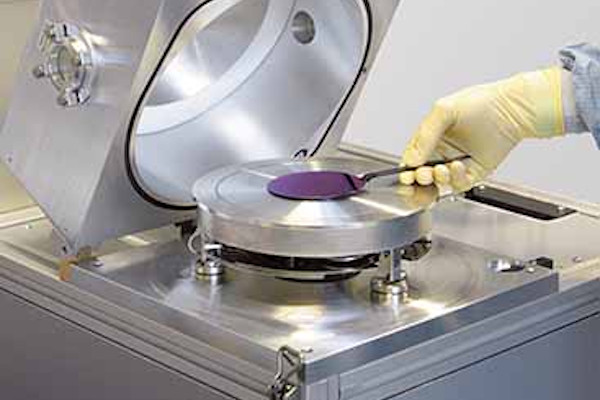
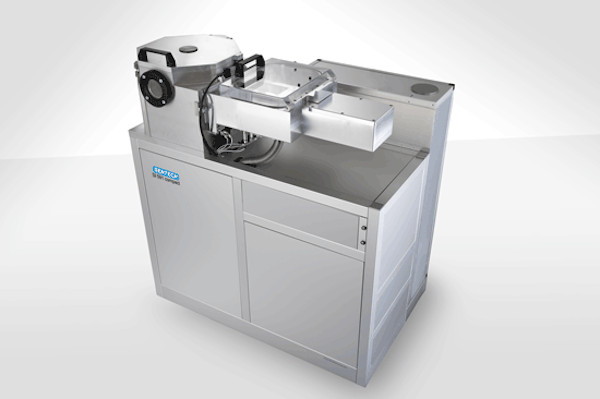
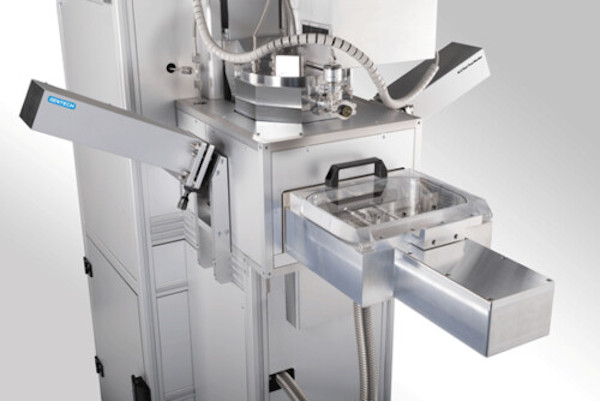
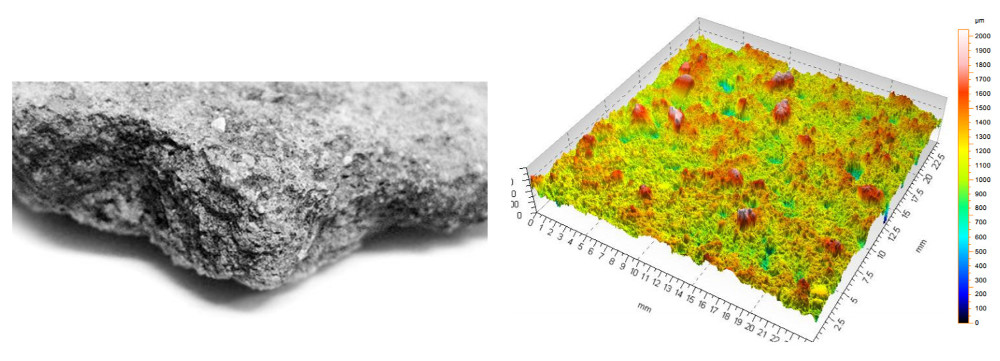
In this application, the Nanovea JR25 (portable Profilometer) is used to measure the surface of a concrete sample. Several surface parameters will automatically be calculated including the most common, Sa (average surface roughness).
The area measured showed an average roughness of 125.9µm and a total height variation of 2,047µm over a 25mm2 area. This suggests that over the area scanned there were some large peaks and valleys relative to the average roughness, but not enough to skew the average roughness values. With no weight restrictions and a maxi mum measurement area of 25mm2, the JR25 makes an ideal choice for portable surface measurements of large immovable surfaces. Vital field study surface measurement will now have the option of Nanovea 3D noncontact technology with a compact potable profilometer.
To read the full application note please contact us by clicking on the request full application note button. We will send you the full application note in pdf format.
